
Yesterday I decided that I would like to be able to access my home computer that I use as a NAS from anywhere in the world. The easiest and most secure way to do this is by using a VPN. So, what is a VPN? A Virtual Private Network extends a Private Network across a public network (like the internet), enabling users to send and receive data like their devices were connected directly to the Private Network. In my case, this means I can access my windows share without having to open it to the whole internet.
<a href=”https://tzeny.com/wp-content/uploads/2017/08/without-vpn.jpg” data-rel=”lightbox-image-0” data-rl_title=”” data-rl_caption=”” title=””>

/a>
The 2 pictures show the difference between a normal connection and a VPN tuneel.
In the first case, the computer connects through the internet to the router. But it cannot access the NAS directly. The router must have a port forwarding rule allowing you to reach the NAS, where a strong authentication mechanism must be present, to deter hackers. This is because the port is always open, and anyone on the internet could access it. If at a later date I add something else I would like to access, I must open another port and so on.
Compare this to the second picture. When you connect to the VPN server running on the Raspberry, you basically become part of the network. This means that you can access the NAS directly. It will become discoverable in you Network directory (if you are using Windows). You still need to create a port forwarding rule for the VPN server, but that’s the only rule you need. Everything else can stay protected behind the router’s firewall.
VPN advantages
Encryption
All the traffic between you and the server is encrypted after a connection is established. This means that no one can listen in on you, preventing Man In The Middle Attacks. A common example is unsecured or suspicious networks. If you connect to an untrusted network, you can then connect to your VPN and all your traffic will be secured.
Compression
Open VPN server has the option of compressing traffic, reducing bandwidth use.
Bypassing web censorship
If you are connected to a network or proxy that blocks certain websites, you can use a VPN to bypass the proxy. Because when you are connected to the VPN, your traffic will be exiting via your home router, you will be able to access any content available from your home.
Parts used:
Software used:
Setup
Preparing the Raspberry Pi
For this to work, you need to have a Raspberry with Raspbian installed, connected to your network with a static IP address assigned to it. If you don’t already have that, follow my tutorial here:
Installing Raspbian and enabling SSH
Changing your password
After you are connected to your Raspberry via SSH, the first step should be to change the default password for user pi. Type the following command to change the password:
The current password is ‘raspberry’.
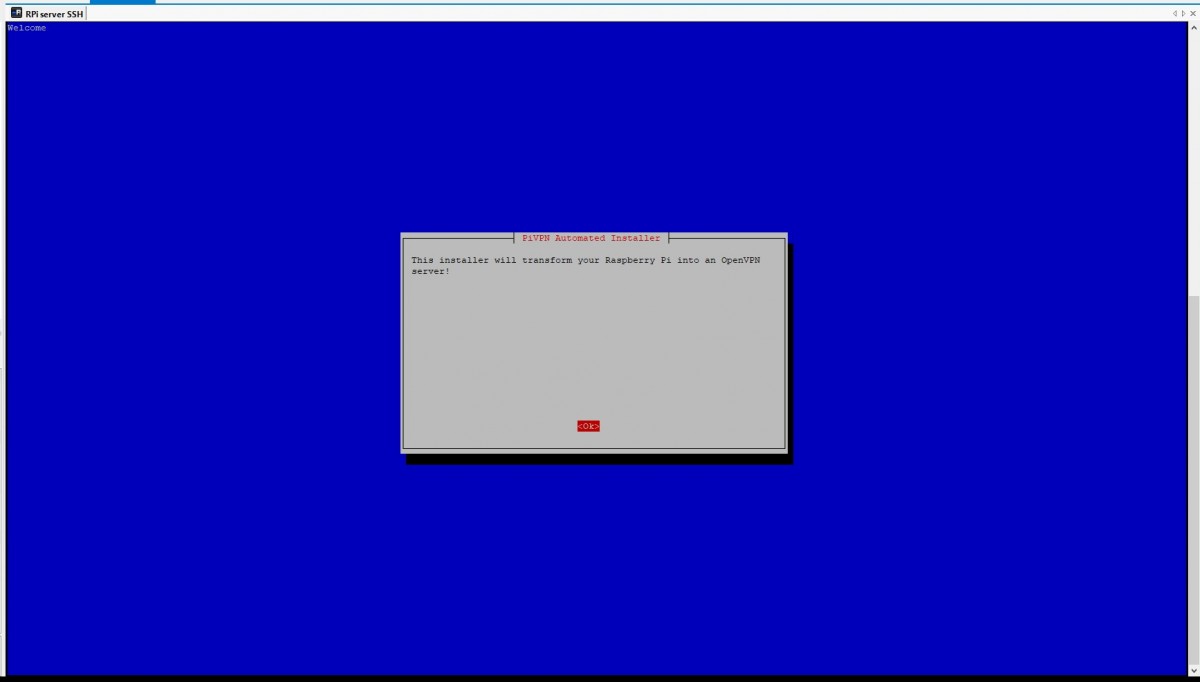
Installing PiVPN
Now we are ready to install the VPN server. We will be using PiVPN. To get things started run the following command:
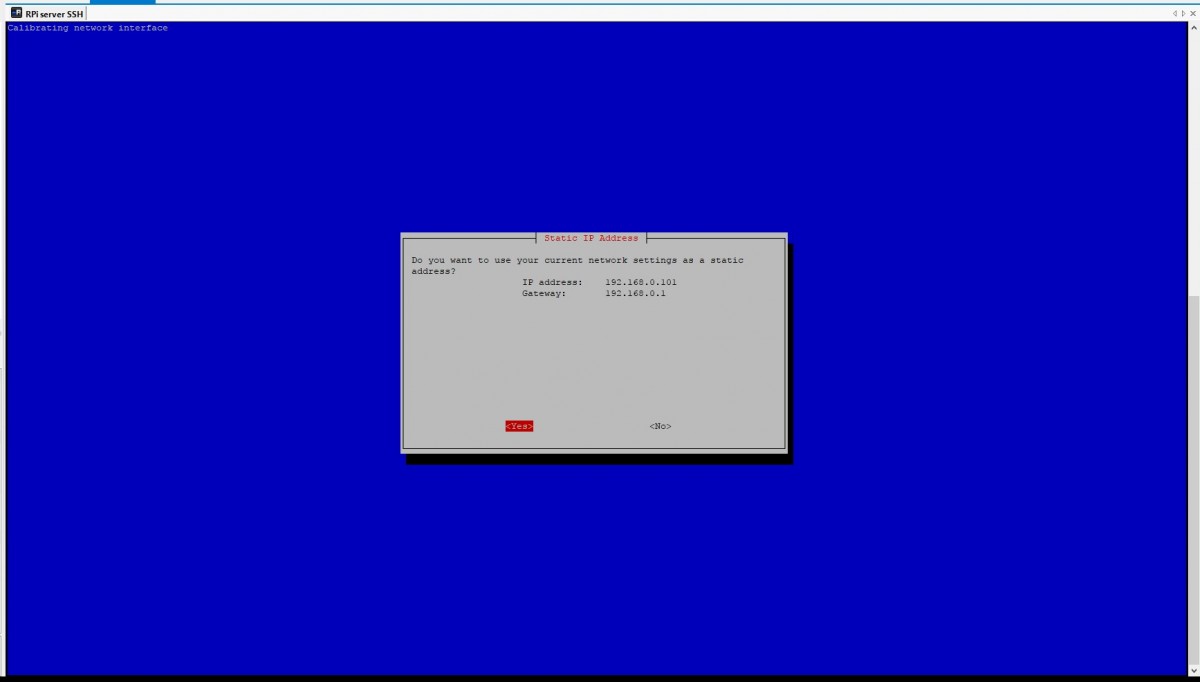
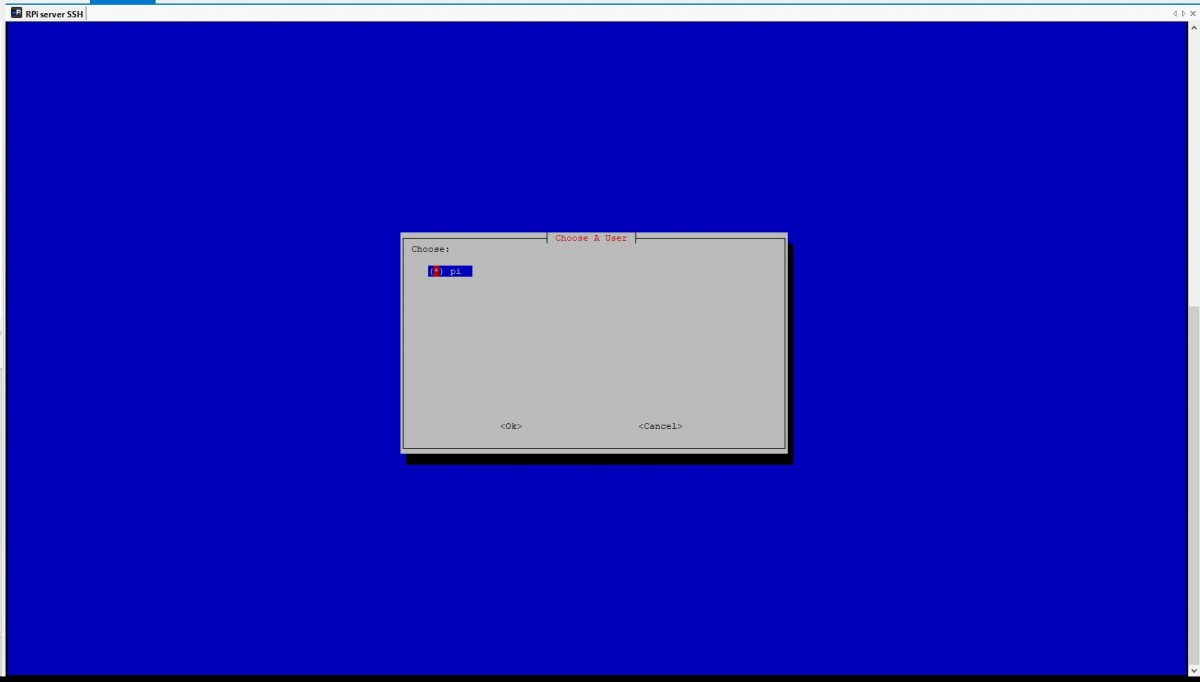
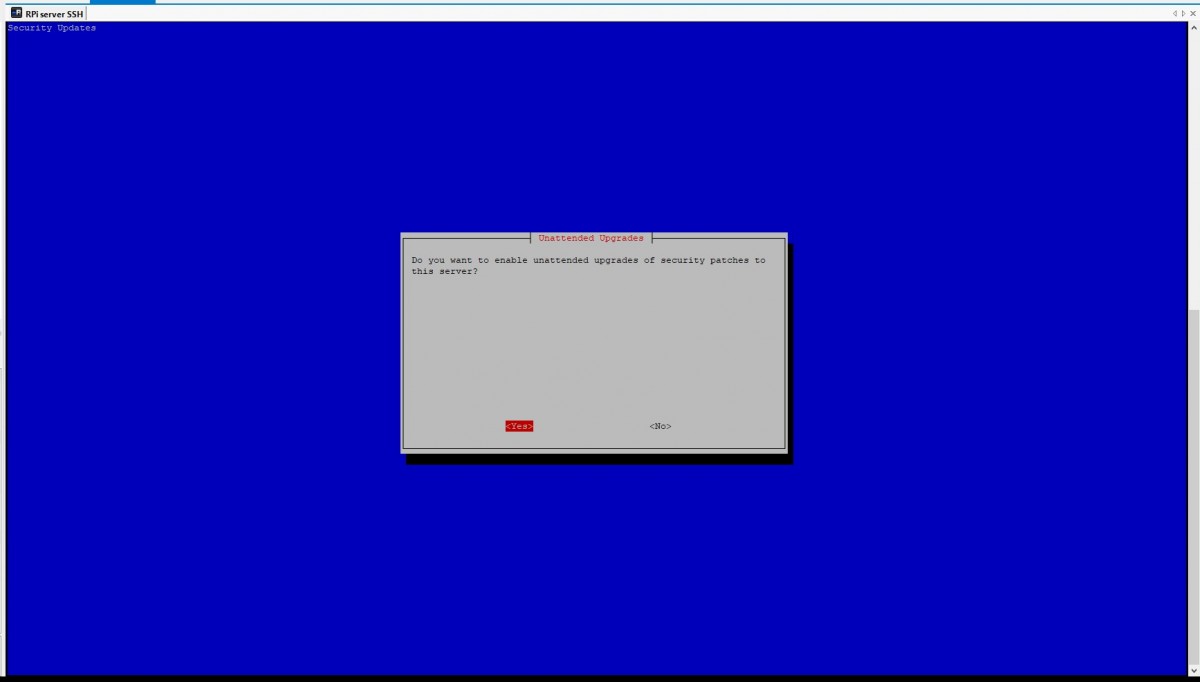
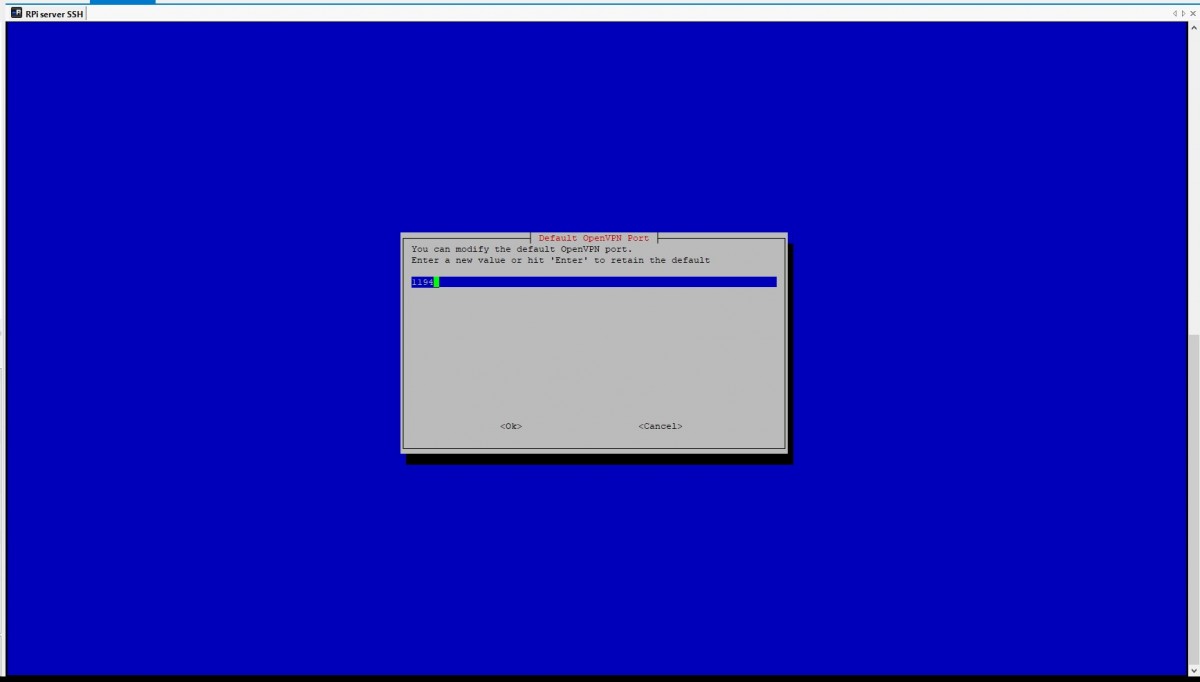
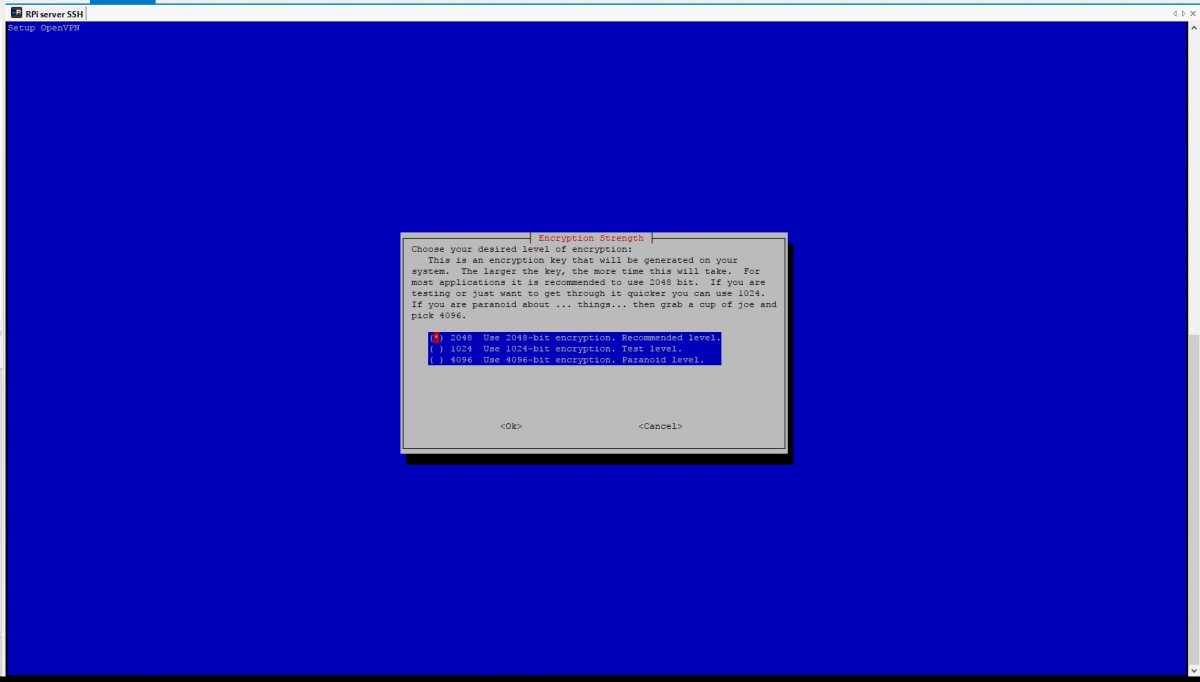
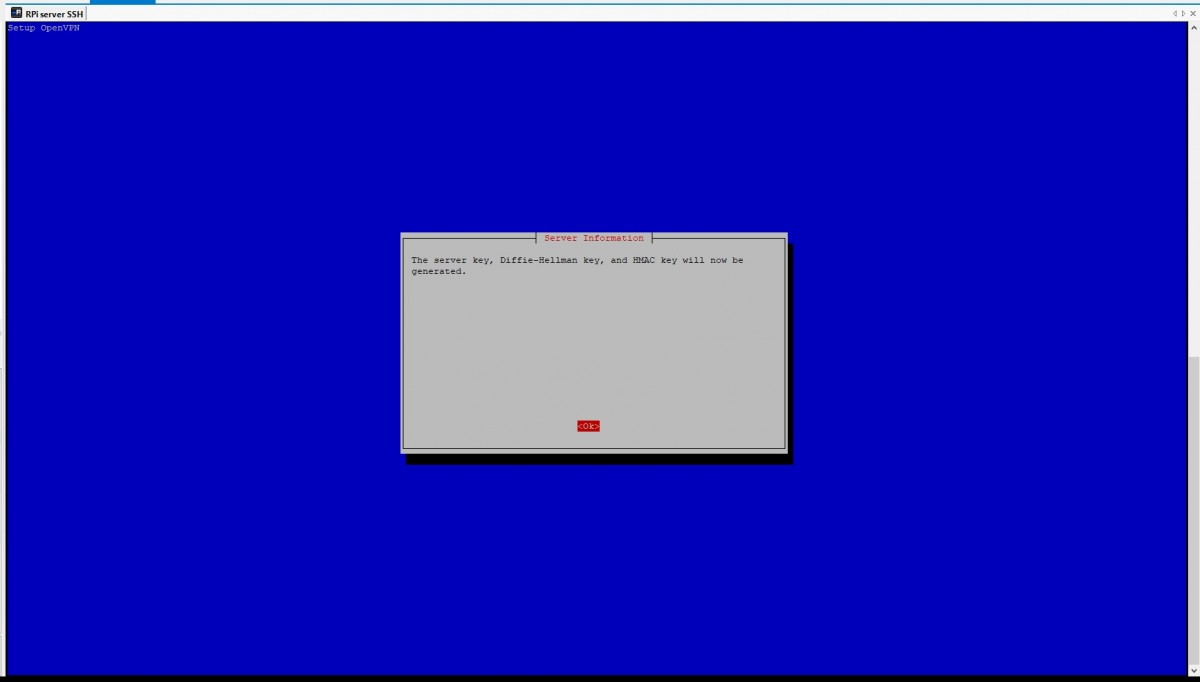
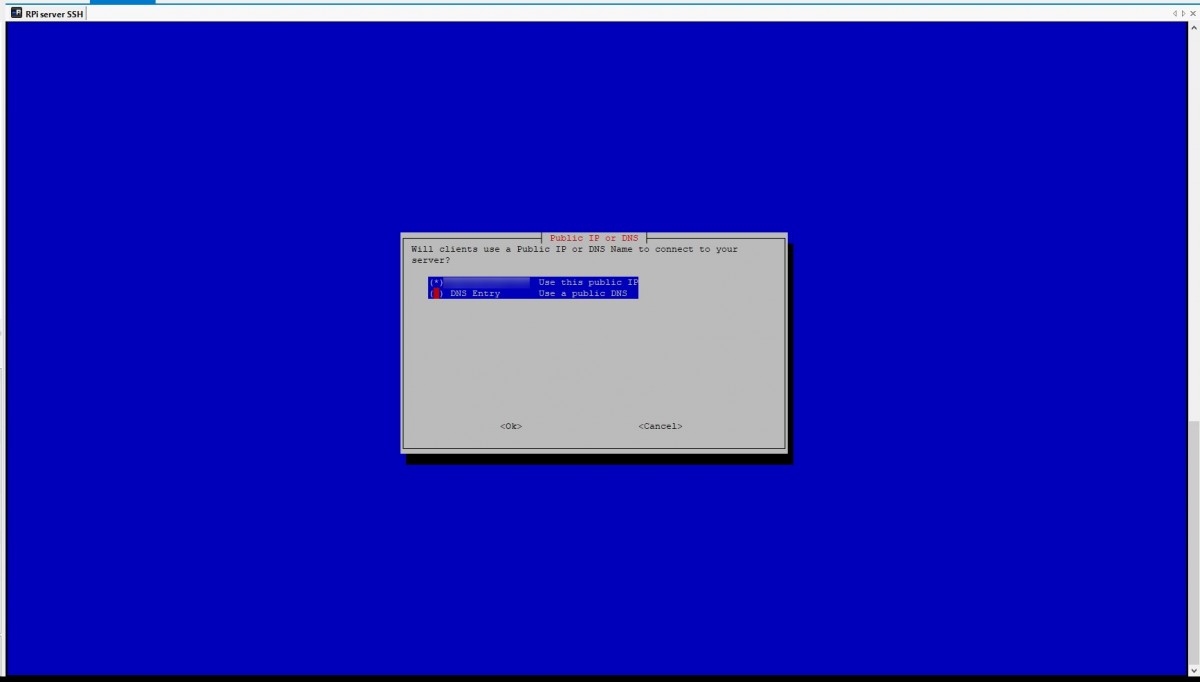
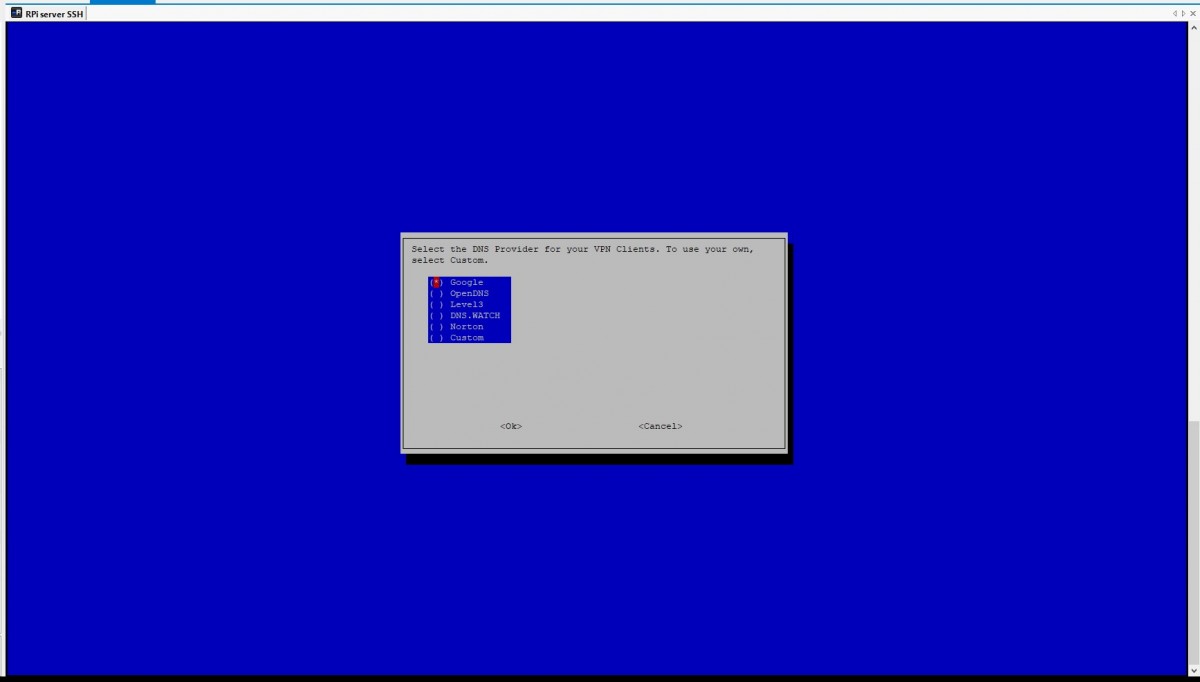
This will start the install process. The pictures below include the steps which require interaction. I have not included the steps that only require you to click ok.
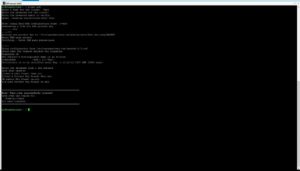
And you’re done. Now you need to run the following command:
You will be prompted to pick a name and a password for the new user. Pick a secure password.
<a href=”https://tzeny.com/wp-content/uploads/2017/08/add-user.jpg” data-rel=”lightbox-image-2” data-rl_title=”” data-rl_caption=”” title=””>
/a>
Use WinSCP (or similar) to copy the file
Install and configure OpenVPN client
Install OpenVPN client from here: https://openvpn.net/index.php/open-source/downloads.html
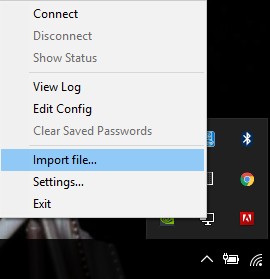
And a little icon should appear in your taskbar. Right click on it and select Import… and choose the
<a href=”https://tzeny.com/wp-content/uploads/2017/08/import.jpg” data-rel=”lightbox-image-3” data-rl_title=”” data-rl_caption=”” title=””>
/a>
The final step is port forwarding the port that you set up for the VPN server. You can follow any one of the tutorials here: https://portforward.com/
Just use your Raspberry’s IP and your port.
Now when you click connect you should have a secure VPN connection. This works from anywhere in the world. And when you are connected you can access the computers in your network like you were connected too.
If you do not have a static IP you need to configure a DNS server. A tutorial is coming soon.