
Today we will take a new drive in Ubuntu, and format and partition it. I will be doing this under a VM, because it is easy to add or delete drives.
Software used:
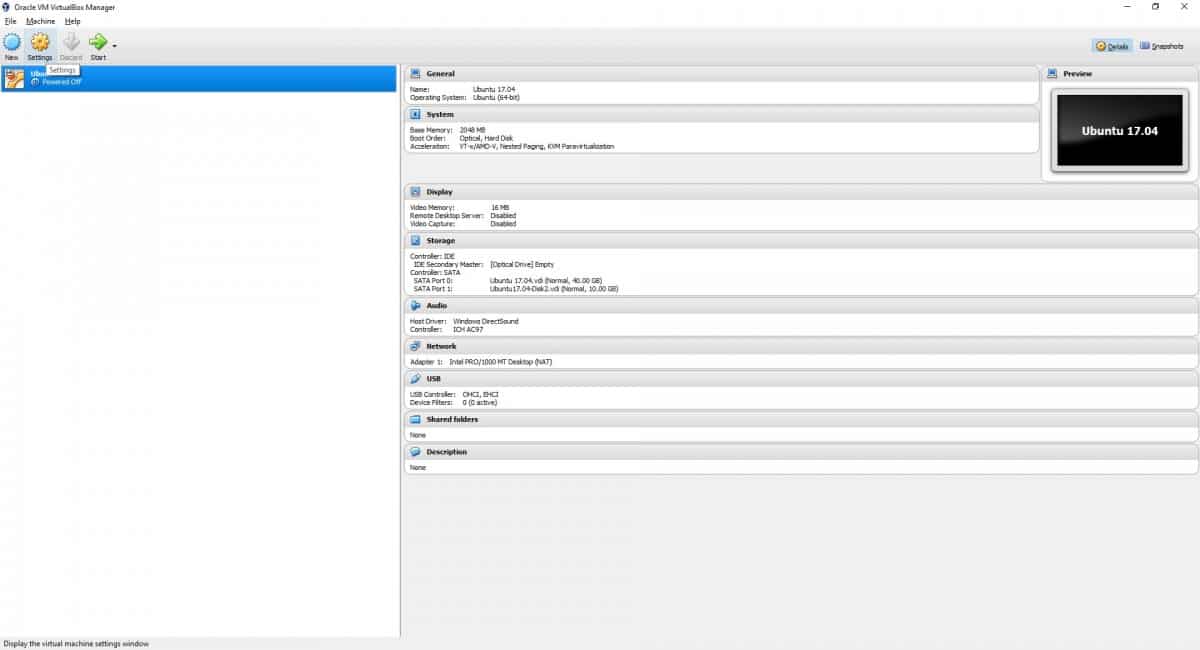
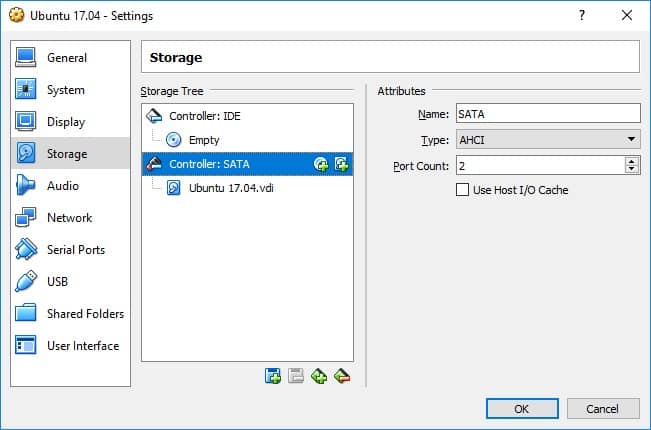
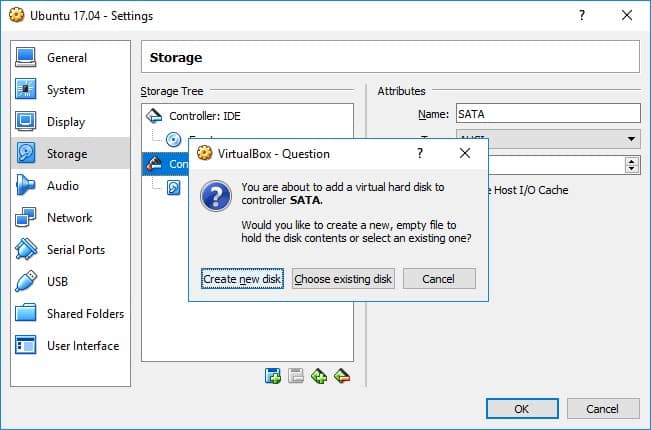
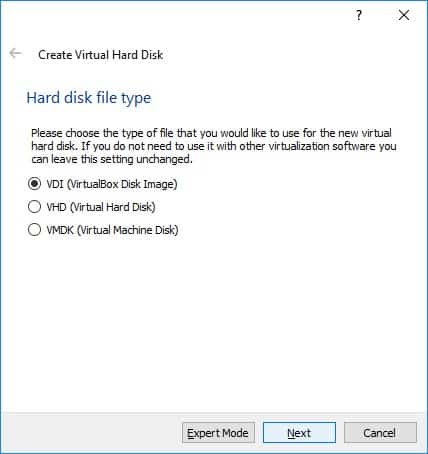
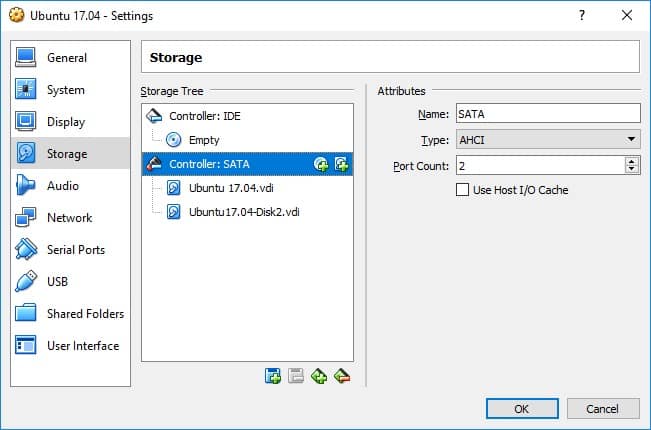
1. Adding a second drive
I started by adding a second drive to my Ubuntu VM.
2. Format and partitioning
Now that we’ve added the drive, we can boot into Ubuntu.
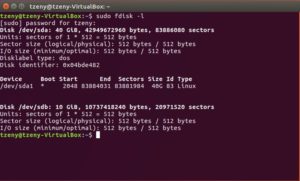
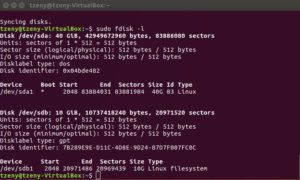
The following command will list all available drives.
If all went well you should see 2 entries:
<a href=”https://tzeny.com/wp-content/uploads/2017/09/partition_1.jpg” data-rel=”lightbox-image-0” data-rl_title=”” data-rl_caption=”” title=””>
/a>
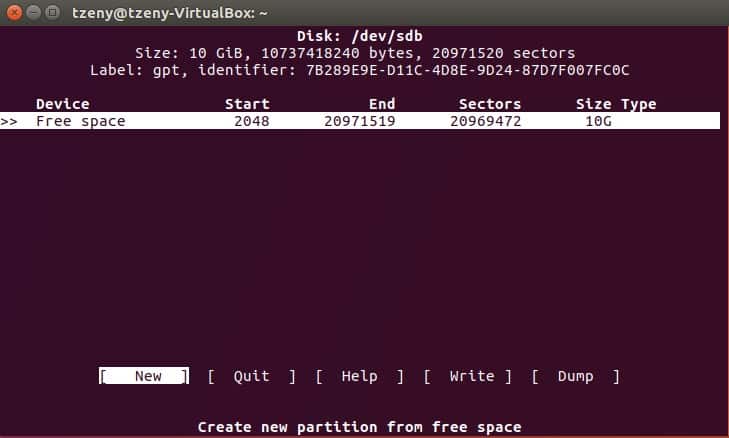
You should now identify the new drive. In my case it is /dev/sdb
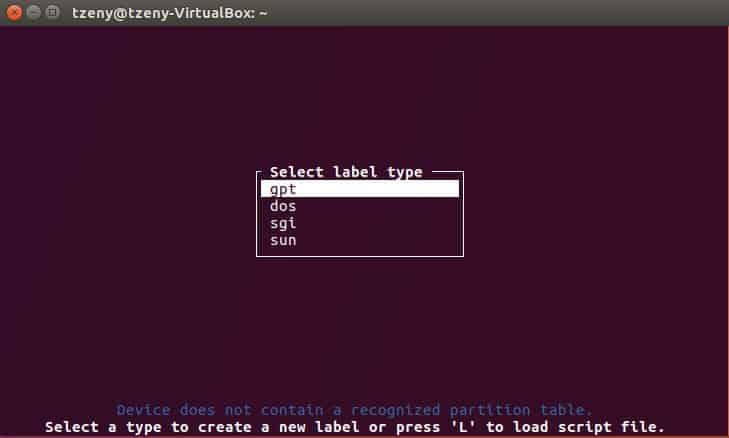
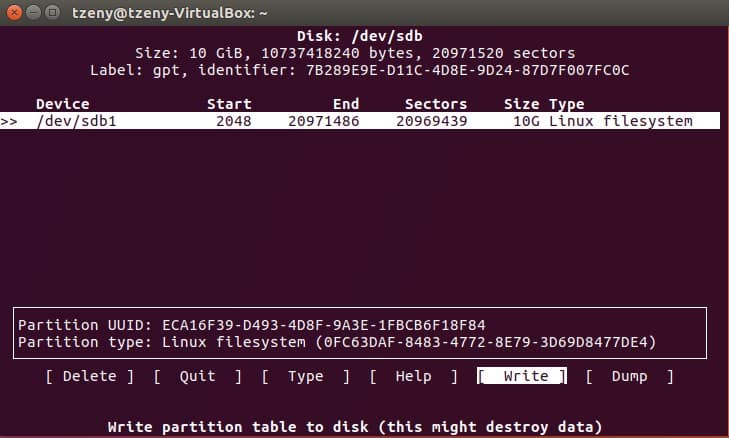
Now, to format the drive:

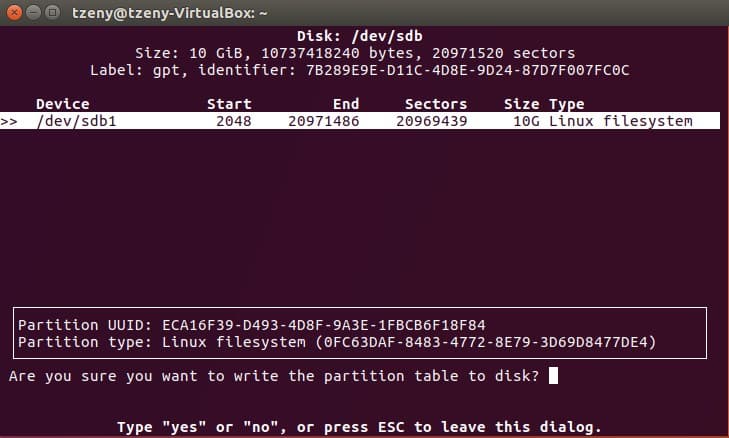
To check the results of our work again type
<a href=”https://tzeny.com/wp-content/uploads/2017/09/partition_7.jpg” data-rel=”lightbox-image-1” data-rl_title=”” data-rl_caption=”” title=””>
/a>
3. Creating the filesystem
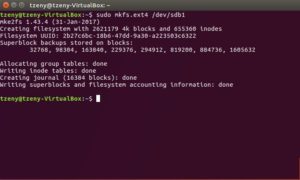
We will use the ext4 filesystem (the most common Linux filesystem today; if you want to learn more go here: https://opensource.com/article/17/5/introduction-ext4-filesystem):
On the new drive (/dev/sdb in my case) you should see a partition (/dev/sdb1 in my case). Now we only need to format it. For this you can use the mkfs utility. To see all possible formatting options type
and press tab tab.
In our case we will use:
<a href=”https://tzeny.com/wp-content/uploads/2017/09/partition_8.jpg” data-rel=”lightbox-image-2” data-rl_title=”” data-rl_caption=”” title=””>
/a>
And we are done 🙂
##
Automounting
If you want the new partition to be mounted at boot time, you can follow my tutorial here.