
Because I am planning to embark on quite an epic journey with my friends, I needed to build a car computer. Her name was to be AIA v0.2. For the computing part I decided on a Raspberry Pi 3, with a 7 inch capacitive touch display. The main purpose of the computer right now is to be an advanced music player (features include: playlists, easy navigation, playing music form an USB memory stick)
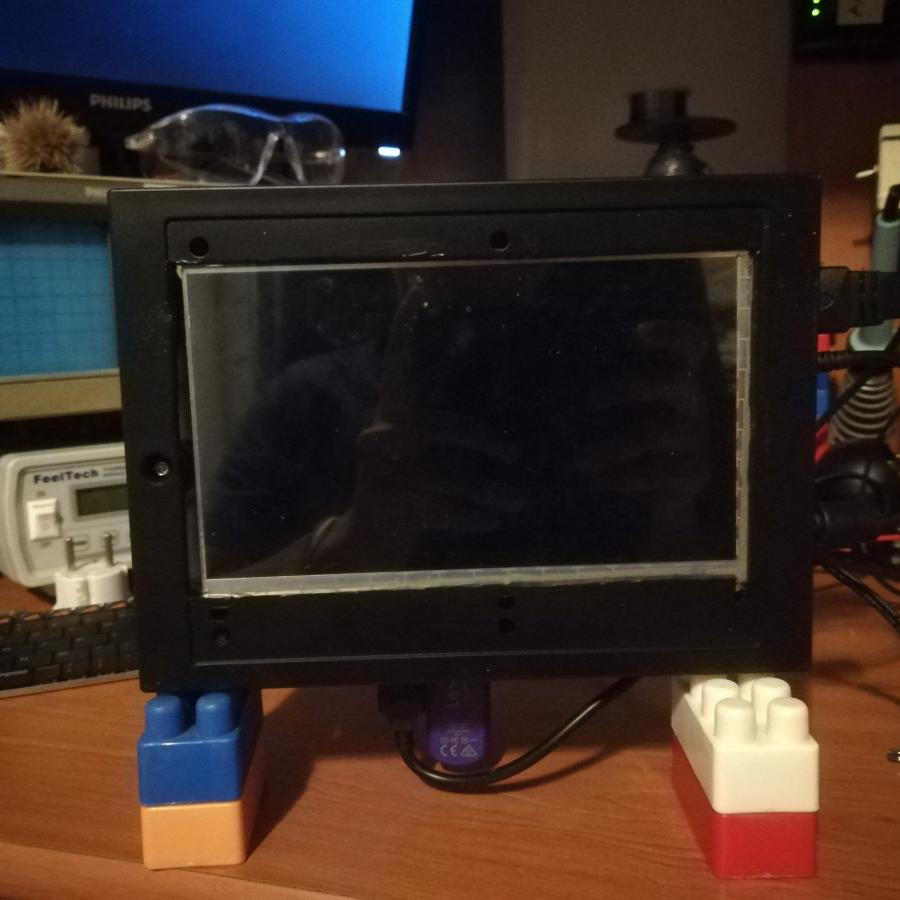
This is the end result:


Parts used:
- Raspberry Pi 3 Model B
- Waveshare 7” touch display
- Plastic housing
- Power and audio out wires
Software used:
I considered running Android on the Raspberry, and using an app for music but I ran into some issues. Although I got it up and running (I used RT Android, not the vanilla one), it was a bit sluggish. This coupled with the fact that my touch screen wasn’t one of the best, made it difficult to use. Another big issue with it was that I didn’t manage to get it to play the music from my USB memory stick with any dedicated music apps (with Es Explorer Pro it worked, but its music playing functionality is minimal).
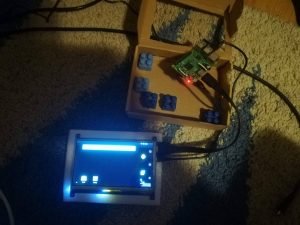
The cardboard box was the original car computer that I built for another trip last year. It is running the latest version of RT Android, which is an independently developed version of Android designed to support real time applications. You can check it out below.
<a href=”https://tzeny.com/wp-content/uploads/2017/07/android.jpg” data-rel=”lightbox-image-0” data-rl_title=”” data-rl_caption=”” title=””>
/a>
1. Hardware
a. LCD
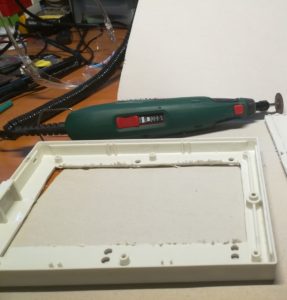
The first thing I did cut a large viewport into my plastic casing (which I unfortunately have no original photos of), so that the LCD screen could be viewed.
<a href=”https://tzeny.com/wp-content/uploads/2017/07/IMG_20170715_192150.jpg” data-rel=”lightbox-image-1” data-rl_title=”” data-rl_caption=”” title=””>
/a>
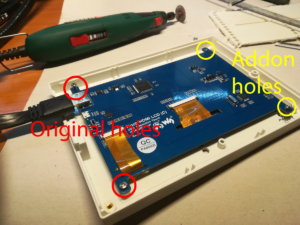
Afterwards I installed the screen. But, since only 2 of the screw holes were a match I had to glue in 2 more on the other side. Epoxi for the win here.
<a href=”https://tzeny.com/wp-content/uploads/2017/07/holes.png” data-rel=”lightbox-image-2” data-rl_title=”” data-rl_caption=”” title=””>
/a>
b. Raspberry
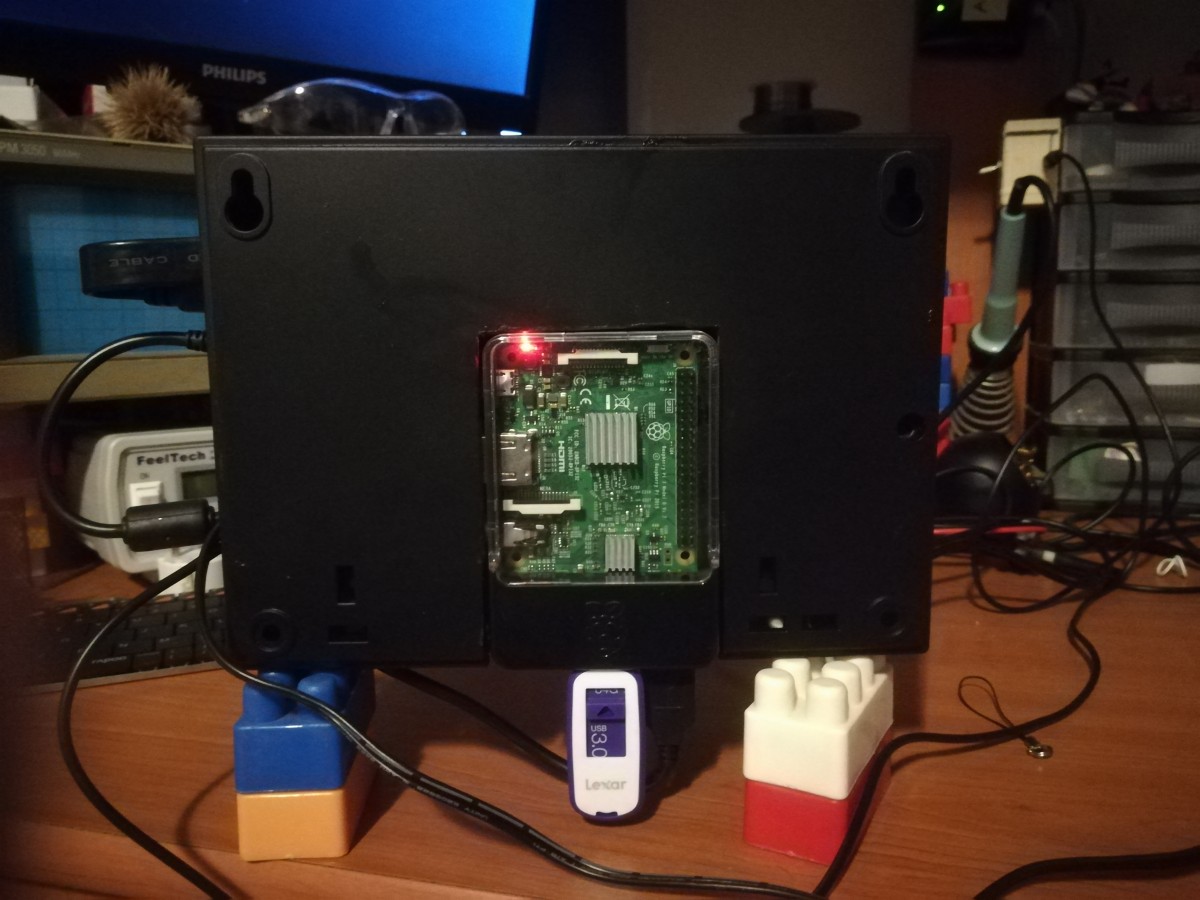
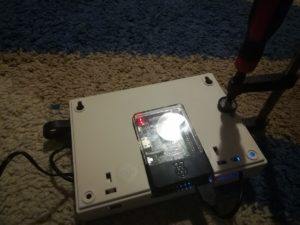
Then, I had to think about mounting the Raspberry. Considering this is just an alpha build of AIA (that’s the computer’s name), v0.2 to be specific, I though I would take the simple route of mounting the Rasberry in a case and putting that behind the LCD. More cutting ensued.
<a href=”https://tzeny.com/wp-content/uploads/2017/07/IMG_20170715_201749.jpg” data-rel=”lightbox-image-3” data-rl_title=”” data-rl_caption=”” title=””>
/a>
The last step was adding a coat of black paint.
2. Software
a. Raspbian and LCD
After downloading Raspbian, you just have to write it to an uSD Card. There is a very good tutorial for this here.
After writing the image open up the file config.txt on the uSD Card, and append the following lines:
hdmi_group=2
hdmi_mode=87
hdmi_cvt 1024 600 60 6 0 0 0
hdmi_drive=1
These is required for the proper operation of the LCD screen. After that put the card into your Raspberry.
b. Kodi
After it boots up, just type into your console:
sudo apt-get upgrade
sudo apt-get install kodi
And after that you have Kodi. But, in my case at least, the touch screen wasn’t properly working and I had to follow these instructions first.
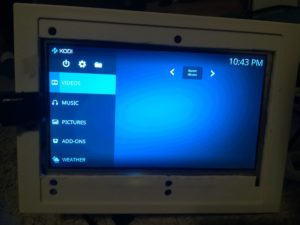
And that’s it. Now you should be able to open Kodi and browse for music, pictures and more.
<a href=”https://tzeny.com/wp-content/uploads/2017/07/IMG_20170715_224317.jpg” data-rel=”lightbox-image-6” data-rl_title=”” data-rl_caption=”” title=””>
/a>
c. Matchbox Keyboard
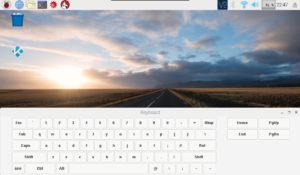
Another useful piece of software I highly recommend is matchbox keyboard. This is how it looks and it is an invaluable piece of software on a touch only Raspberry.
<a href=”https://tzeny.com/wp-content/uploads/2017/07/keyboard.jpg” data-rel=”lightbox-image-7” data-rl_title=”” data-rl_caption=”” title=””>
/a>
All you need to do to install it is type:
A shortcut will be created in the Accessories tab of the Menu.